Category: Tips

How to Pack and Ship Canvas Art

Packing and shipping framed canvas art requires careful attention to ensure the artwork arrives at its destination safely and in pristine condition. Here’s a step-by-step guide to pack and ship framed canvas art:

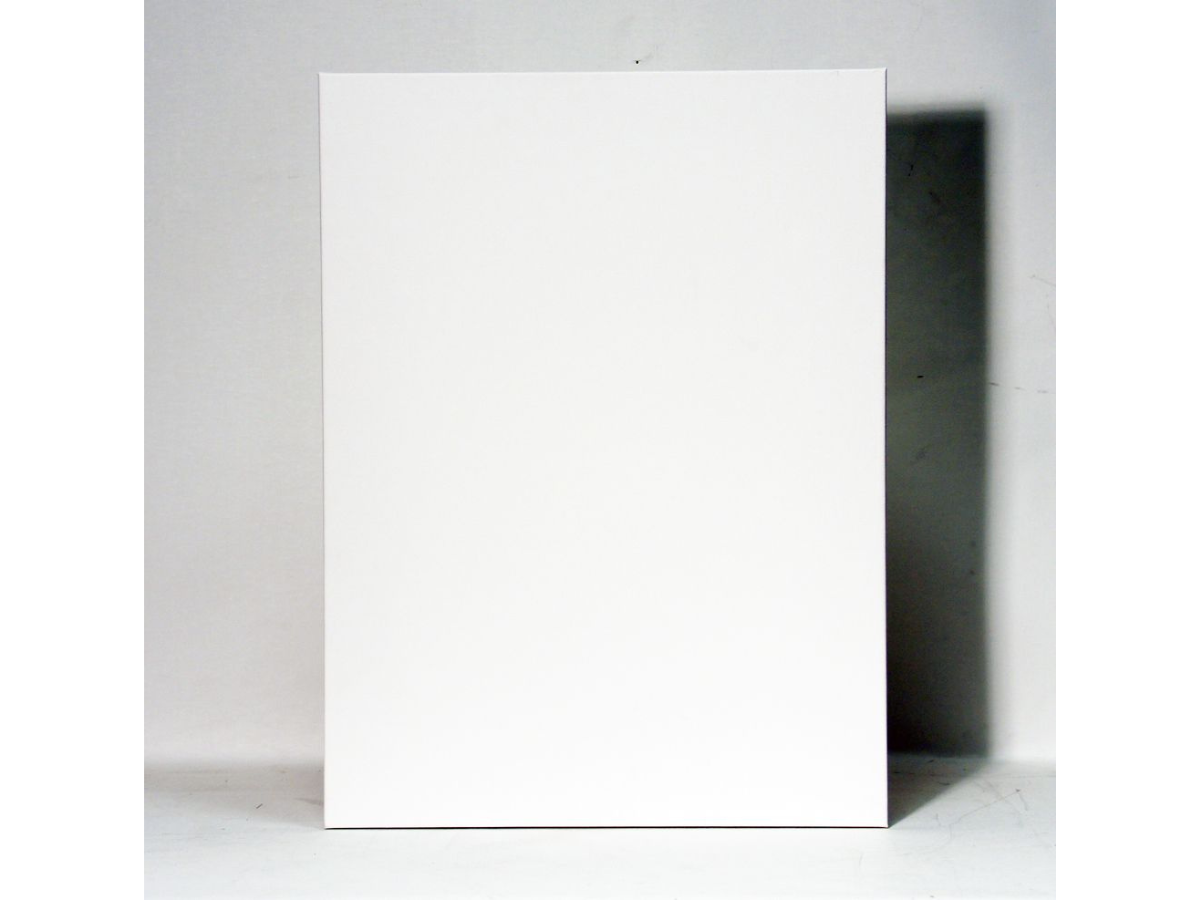
1. Gather materials. Before you begin, gather all the necessary materials. You’ll need a sturdy cardboard box slightly larger than the artwork, acid-free paper, bubble wrap, air cushions, packing paper, packing tape, cardboard corner protectors, and a marker for labeling.
2. Wrap the artwork. This step has many layers. Take your time during this step.

  • Make sure that the frame is secure and there are no loose piece (hanging hardware, wires, etc.) that could damage the art during shipping.
  • Use acid-free paper to wrap the artwork. This will protect the piece from marks and indentations that could damage it.
  • Tightly wrap the artwork in cling film. Start from the back of the frame and wrap the cling film around the artwork several times.
  • Wrap the framed canvas art in several layers of bubble wrap. Take note that the bubbles should be facing away from the surface of the painting. Ensure that the entire surface of the artwork is covered, paying extra attention to the corners and edges, which are vulnerable to damage during transit. Secure the bubble wrap in place with packing tape.

Tip: When packing a very large framed artwork, it’s better to remove the glazing since there’s a greater risk of the glass breaking during transit. Put a clean sheet of cardboard on the painting to protect it.

Packed canvases for shipping

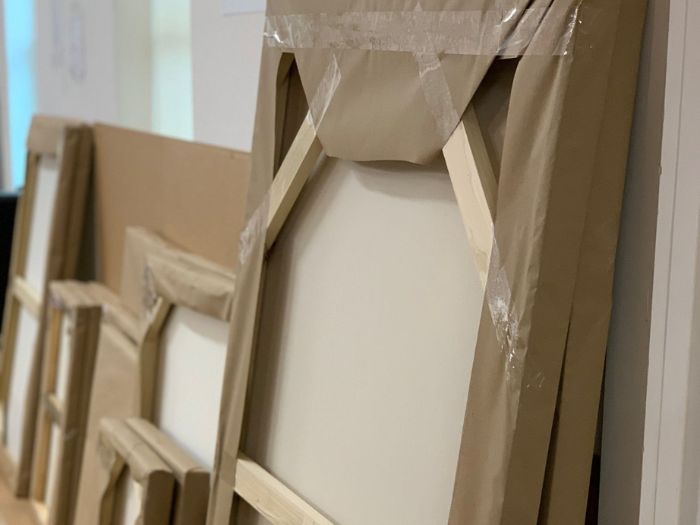
3. Protect the corners. Place cardboard corner protectors over the corners of the framed canvas to provide additional reinforcement and protection against impacts.

4. Prepare the box. Line the bottom of the cardboard box with a layer of packing paper or bubble wrap to cushion the artwork. If shipping multiple pieces, separate them with additional layers of packing material to prevent them from rubbing against each other.

5. Position the artwork in the box. Carefully place the wrapped and protected framed canvas art in the center of the box, ensuring that it is positioned upright and does not touch the sides of the box. Fill any empty spaces with additional packing material, such as bubble wrap or packing peanuts, to prevent shifting during transit.

Tip: Make sure that you’ve filled the box with air cushions and/or insulation foam so the artwork doesn’t move at the center of the box.

6. Seal the box. Once the artwork is securely positioned in the box, seal the box with packing tape. Reinforce the seams and edges of the box to prevent it from opening during shipping.

7. Label the box. Use “Fragile” and “Handle with Care” stickers all around the shipping box. Include the sender’s and recipient’s addresses, as well as any special instructions for the carrier.

8. Choose a shipping method. Select a reputable shipping carrier that offers insurance and tracking services for valuable items. Consider opting for expedited shipping or additional insurance coverage for added peace of mind.

9. Schedule pickup or drop-off. Arrange for the packaged artwork to be picked up by the shipping carrier or drop it off at a designated shipping location. Be sure to obtain a receipt or tracking number as proof of shipment.

10. Monitor shipment. Keep track of the shipment’s progress using the provided tracking number. Notify the recipient once the artwork has been successfully delivered.

Packing a canvas art may take so much of your time, but it will give you and your client peace of mind. Also, remember that the time spent packing your artwork is a fraction of the time you spent creating it.

How Artists Can Find Clients for Commission Projects

Photo by Ahmed Raza Kz on Unsplash

In the art industry, securing commission projects stands as an endeavor for artists aiming to sustain their craft and build a thriving career. Yet, in a landscape saturated with talent, navigating the path to finding clients can be challenging. However, with strategic approaches and a proactive mindset, artists can effectively connect with potential clients and secure commission projects.

  • Cultivate an online presence. Establishing a professional website or portfolio on online platforms can showcase past work, artistic style, and contact information. Social media also provide additional avenues for artists to share their creations, engage with a broader audience, and attract potential clients through visual storytelling and networking.
  • Online artist communities. Actively participating in online artist communities and forums can expand an artist’s reach and visibility. DeviantArt or Reddit offer spaces for artists to share their work, receive feedback, and connect with like-minded individuals. Engaging with these communities not only fosters a sense of belonging but also opens doors to collaboration opportunities and client referrals.
Photo by Michał Parzuchowski on Unsplash
  • Local art shows and fairs. These events provide valuable exposure and networking opportunities within the artist’s community. Artists can showcase their work directly to potential clients, art enthusiasts, and industry professionals. Building relationships with local businesses, galleries, and art organizations can also lead to commission opportunities through referrals and partnerships.
  • Word-of-mouth marketing. This strategy is free! Satisfied clients can become powerful advocates for an artist’s work, spreading recommendations and referrals to their networks. Remember that your relationship with a client doesn’t end upon sale. You should provide exceptional customer service, maintain open communication, and deliver high-quality work to cultivate positive relationships and generate repeat business and referrals.
  • Seek out potential clients. Look for businesses, organizations, and individuals who may require commissioned artwork aligned with your style and expertise. Write personalized pitches and proposals that demonstrate an understanding of the potential client’s needs and vision to significantly increase the likelihood of securing commission projects.

Finding clients for commission projects may present challenges, but maintaining a dedication to your craft and adopting these approaches can help you establish yourself as sought-after painters and cultivate a thriving career in the competitive world of arts.

How to Manage Unsold Paintings

Managing unsold paintings can be a common challenge for artists. Here are some suggestions on how to handle and potentially monetize your unsold artwork:

  • Create an Online Portfolio. Build a professional website by using online platforms like Etsy, DeviantArt, or Saatchi Art to showcase your unsold paintings. This provides a centralized location for potential buyers to discover and purchase your work.
  • Social Media Promotion. Social media is your friend. Leverage social media platforms such as Instagram, Facebook, X (formerly Twitter), TikTok, and Pinterest to showcase your artwork. Regularly share images, stories, and updates about your paintings to increase visibility.

  • Art Shows and Exhibitions. Join local art shows, galleries, or exhibits to display and sell your paintings. Networking with other artists and art enthusiasts at such events can also open up new opportunities.
  • Limited-Time Promotions. Create limited-time promotions or discounts for your unsold paintings to encourage sales. This can be especially effective during holiday seasons or special events.
  • Prints and Reproductions. Consider offering prints or reproductions of your unsold paintings. This allows you to reach a broader audience at a lower price point and provides an alternative for those who may not be able to afford original artwork.
  • Collaborate with Local Businesses. Partner with local businesses such as cafes, restaurants, or offices to display and sell your artwork on consignment. This can attract potential buyers who may not have visited traditional art galleries.
  • Art Leasing. Explore the option of leasing your artwork to businesses or individuals. Some people might be interested in rotating artwork in their spaces without committing to a purchase.

12ft Canvas for Painting

Artists sometimes feel pressured when facing a blank canvas. Imagine facing a 12-ft canvas for painting. For both budding artists and seasoned painters alike, the prospect of tackling a large canvas can be simultaneously exhilarating and daunting.

Imagine standing in front of a canvas that’s bigger and higher than you! Does it intimidate you or inspire you?

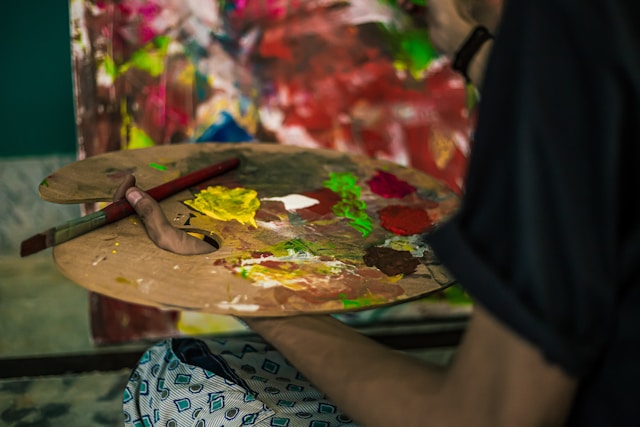
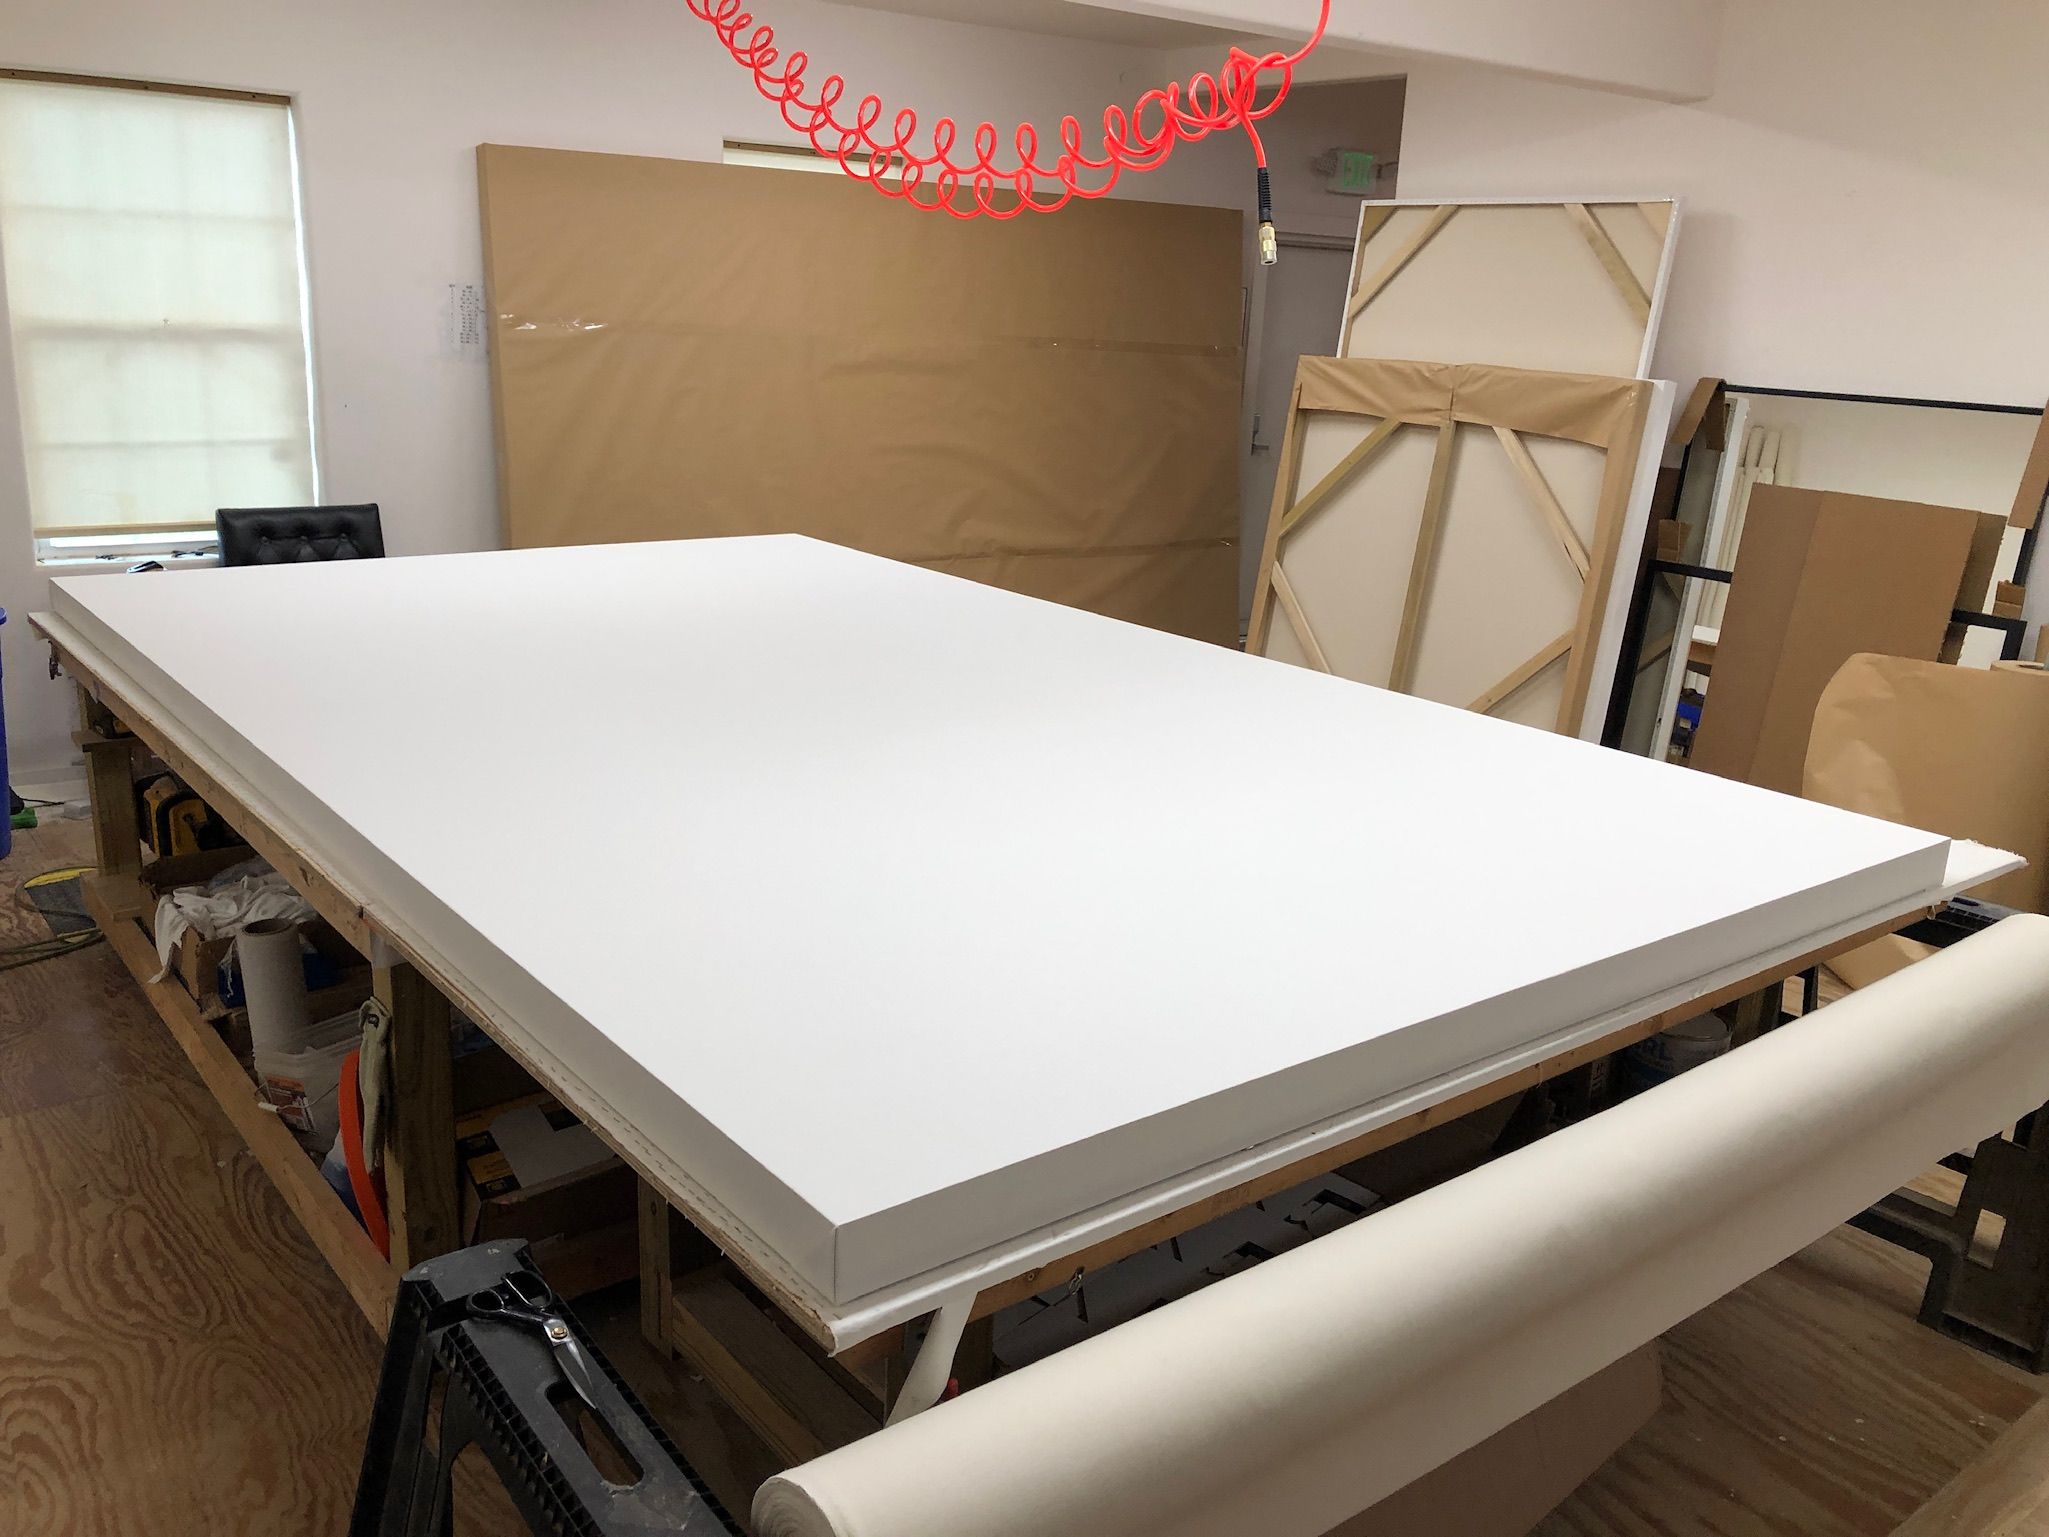
For newbies, a 12-ft canvas offers a big space for experimentation. Mistakes can be part of a grand artwork and can give lessons to the budding artist. Explore techniques and embrace the freedom of creating art on a large canvas.

While some professional painters are used to painting on big canvases, others may still feel challenged. Keep in mind that a 12-ft canvas is an opportunity to push the boundaries and delve deeper in your artistic creativity and expression.

Regardless of skill level, a 12-ft canvas is not without trials. From handling, shipping and storing, the canvas itself presents a unique set of challenges to be overcome. But, remember that solving these issues helps an individual grow as an artist.

Take the opportunity to create something beautiful on an 12-ft canvas. Embrace the space, enjoy the challenges and let your creativity shine!

Learn more about 12-ft canvas for painting here.


What Painting Canvas Sizes Sell Best

Painting on canvases may start as a hobby, but for most painters, selling their artwork is a primary source of income. Some left their full-time jobs to become full-time artists. They enjoy spending time doing what they love in creating and expressing their thoughts and feeling through paint and a blank canvas. For some artists, painting is a stress reliever after a hard day’s work.

Choosing the right canvas size can be a factor in selling your artwork. Aside from collectors having different tastes in art, having the perfect painting size can determine whether or not you’ll be able to close the deal.

So, what canvas size sells best?

While there’s a debate whether a small size painting sells better than larger ones and vice-versa, a medium-sized canvas is a safe place to start.

Canvas sizes such as 16″ x 20″ and 18″ x 24″ tend to sell well in the market. Paintings using these canvas sizes can fit the walls in most homes. This also gives you enough space to paint intricate details in your art without compromising the overall composition.

Explore painting on several medium-sized canvases. It’s a handy size that you can bring outdoors for plein air painting. It’s also a good size for portraits.

Other factors to consider

Target buyers

Think about your potential buyers. Are you targeting locals or tourists into purchasing your painting? Tailor your canvas sizes according to your collectors’ preferences.

Tourists like smaller artworks for easier packing and shipping. Small paintings can be quickly stored inside a suitcase or can even fit carry-on bags.

Small paintings are also more affordable. First-time buyers and those are in a tight budget will usually lean on buying a low-cost artwork.

Meanwhile, local collectors especially those who frequent high-end galleries, show areas, exhibits, etc. prefer buying large paintings. These paintings give greater visual impact and hang beautifully in wide and high walls. Large artworks usually grace the walls of hotels, restaurants, universities, and hospitals.

Market trends

Study market trends. Art trends determine which sizes are in demand. What’s high-selling last season may not be so hot right now.

For example, art buyers may prefer miniature paintings during Christmas time since these small artworks are great gifts to family and friends. These miniatures can be used to hang on a Christmas tree, too.

Selling venues

If you’re selling art online or in local art shows, smaller paintings are preferable in these venues. On the other hand, art galleries prefer larger-sized paintings.

Learn more about custom-sized canvases from CanvasLot.

Ways to Create Texture to your Arwork

Putting texture in your artwork is a great way of adding a bit more life and character to an otherwise flat area. Brush strokes can create texture but there are other materials that you can use such as an old credit card or a cardboard or alsost anything that you can apply your paint with. The addition of some texture into a painting gives it a whole new dimension. Adding some highly textured areas against some very flat areas gives the painting wonderful contrast. Here are some tricks that you can use to create different textures to your artwork.

textured1

Use some binder medium such as Impasto gel. Glue down the appropriate literature and add three or four good, solid coats of impasto gel, and a glaze or wash or two. Paint over the top of that with an image that is relevant to the text beneath, and allow the text to show through in places. The effect is a three-dimensional aspect to the surface.
Lay down multiple layers of paint. The different layers create a tactile effect on the painting by making its surface less even and smooth. Paint with different paint thicknesses not only by varying the quality and type of paint, but also with how much paint you lay onto the canvas.
Scoop on some modelling compound or something similar material, and create shapes or objects into the surface. This will create lots of wonderful texture.
Stencils are also a great idea. For example, lace is laid on the surface then pulled off after a healthy layer of texture medium of some description, is a lovely experiment. Try laying some clear impasto gel over a finished piece using lace or some patterned material. When it is dry, drag a dry brush over the top, and that pattern will be revealed. Some great patterns can reveal themselves through some very odd household objects.

textured2
Use some shading and contrasting colors to create the impression of texture or to exaggerate an existing texture.
Spattering and stippling techniques can also create a very strong impression of texture because of the uneven layers of paint.

Other mediums & additives like impasto gel & modelling compound have texture and body already built in. A swipe with a palette knife or brush works wonders. These are just some of the ways we can create textured art. Use your imagination. Don’t be afraid to experiment. The range of textured art you can create is limitless.

Image source: www.etsy.com

How to Photograph Your Artwork for Online Display

Online art galleries and portfolios are the thing of today in terms of getting the word out about your art. Showcasing your artwork online needs to approximate the real thing and having good quality images of your artwork is a must. As an artist, you also need to keep visual records of your work—and whether you plan on selling your art right away or keeping it for years, you should always have up-to-date images ready to share.

Position your artwork almost perfectly upright
Put your artwork against a wall where it can stand on its own. It is not recommended that you lay your painting on the floor because it will be difficult for you to take a steady shot and you’ll block your light source that will create a shadow on your picture. When you take the photo, remember to tilt the camera slightly down to match the angle that the artwork is leaning – this will help minimize distortion of the original image.

photographing-artwork

Make sure that you have a sufficient, indirect natural light
Bring your artwork and your camera to a spot that’s full of bright light. Natural light is best. If the sun is too bright directly, bring your piece to a slightly shady area that’s still quite bright. If you’re forced to use artificial lights, get them as bright as possible, and reflect the light off of a white wall, poster board or another light surface to avoid over exposed parts in your photo. Look out for shadows, as well. If you use a flash, try taping a single sheet of toilet paper over it so it’s not so harsh.

Take a picture of your artwork
When you’re taking your photo, look at it directly from the front, so that the edges of the piece are parallel with the edges of the viewfinder. This keeps everything correctly proportioned.
Use a tripod so you won’t have to worry about hand shake or instability, and you can take time to frame your shot perfectly. If you don’t have a tripod, you can use anything that can hold your camera and your hands in place like a table or a box.

Avoid too much post processing
I f you think that your photo needs editing, then, you may do so. You may bring them up in Photoshop or whichever photo-editing software you use. You can remove some imperfections like cropping out the background and adjusting the contrast to approximate the real image. Do not overdo your editing. Remember that you want to post an image of your actual artwork not an edited version of it.

Image source: www.adcfineart.com

How To Fix Damaged Watercolour Paintings

Every type of damage in a watercolor painting has different procedures in order to clean and restore them. These procedures cannot reverse color fading but it can help prevent and stop further fading. Here are some tips that you can do for each type of damage.

how-to-fix-mistakes-in-watercolor1

Water Damage
• Gently remove the painting from the frame and separate the watercolor from the glass frame immediately after it has become saturated. Mold also begins to form after saturation. Don’t leave the image in place pressed against the glass because the image will be bonded permanently to the glass.
• Lay the watercolor on a flat, dry surface. Leave the artwork untouched until completely dry. Lay the artwork on a towel, blanket or on dry grass in the yard.
• Mist the front and back of the watercolor with a light coating of spray Lysol. Do not substitute with a chemical that contains bleach. The damage incurred from the bleach is irreversible. Wait for the mold to dry out and become dormant. You will notice that the mold will become powdery.
• Brush the mold off of the watercolor lightly with a clean, dry, soft-bristled paint brush.
• Put the painting back into the frame.

Dirt and Debris
• Break a loaf of bread in half. Grab a handful of the white inner portion of the bread. Roll the dough into a ball.
• Scrub the dough gently against the watercolor painting.
• Replace the dough as the piece you are working with gets dirty.
• Brush the bread crumbs off of the watercolor using a clean, dry, soft-bristled paint brush. Make sure that all bread crumbs have been removed from the painting.

Fade Prevention
• Instead of using an ordinary glass, use a UV3 coated Plexiglas. This will reflect the UV rays that cause the color to fade.
• Move any watercolor artworks away from direct sunlight. Artwork with the UV3 Plexiglas will not prevent all UV rays from damaging the color in the painting. Direct sunlight can harm the color and raise the temperature surrounding the painting that can fade the colors.
• Avoid hanging watercolor paintings where the temperature of the artwork would rise above 70 degrees Fahrenheit. Avoid hanging on outside walls that are not properly insulated, over fireplaces or near furnace grates and windows with direct sunlight.
• Replace all florescent lighting with incandescent light bulbs. Do not use direct lighting of any type on a watercolor.

Image source: www.paintingdemos.com

Tips on How to Store an Artist Canvas

A perfectly pre-primed Canvas Lot piece, ready to take paint.

Canvas is a fabric usually made of cotton, linen, or a combination of both. It is available primed or unprimed, stretched or pre-stretched. You can buy a canvas in art supply stores or online, such as in Canvas Lot. Whatever the type of canvas you are using, you have to protect this essential material in your painting.

Unused canvas fabric
If you bought canvas on wholesale and you have some unused canvas left, here are ways on how to take care of your canvas:

  • Roll the canvas loosely around a firm center and cover it to protect it from collecting dust.
  • Store canvas away from direct sunlight or exposed to moisture or humidity.

Stretched and unused canvas
Here are the ways on how to properly store a stretched and unused canvas:

  • Store canvas vertically, standing along one edge. If you have several canvases, stack it face-to-face or back-to-back. The front side should always touch the front side of another canvas. Don’t stack canvas on top of another since it will lead to warping and cause it to sag.
  • Don’t store it in a garage, attic, or any room where you can’t control the temperature and where there is no good ventilation.

Stretched and used canvas
After you’re finished with your painting, here are tips on how you can store your painting as you await for its buyer:

  • Wrap the finished artwork in clean wrapping paper to protect it from dust and other pollutants.
  • Stack the painted canvas vertically against a wall, facing one direction.
  • Don’t store canvases face-to-face to prevent paints from sticking together.
  • Stack larger canvases near the wall and the smaller ones in front. Alternate the orientation of how the canvases are stacked.
  • Remove any eye screws, nails, or wires at the back of the canvas. If you have to attach hooks, screw the hook at the inner side of the stretcher bar. This avoids the ugly protrusions at the back of the painting and prevents poking, impressions, stains, or accidental tearing another stored canvas.
  • Use storage blocks or foam support to protect the canvas from the wall and neighboring canvas.
  • For oil paintings waiting to fully dry, store them in a room which is lit for a few hours of the day. Allowing the paint to dry in darkness causes the paint to turn yellowish.
  • If you are storing the canvas for a long period of time, place it above a rack to let air circulate underneath the paintings.

How to Frame Watercolor Paintings

Framing a watercolor painting is different from framing an oil painting on canvas. Know the purpose why you‘re framing your artwork and that is to display it in the best way and to protect it with a frame, mat and glass. Here are some easy steps and tips on how you can frame your own watercolor painting.

Framed02

Materials
Aside from glass, you need to protect the painting with a mat and backing (usually foam core), which should be acid free and archival, to prevent your painting from turning yellow overtime. Use a double mat because it looks better. You also need some acid-free cloth tape to attach the painting to the mat. The mat keeps the painting from touching the glass, which is very important. If you opt not to use a mat, then you need to put a spacer between the glass and the painting so they don’t touch.


Sizing
You have three options for acquiring mats and frames. The cheapest way is to buy a pre-cut mat and pre-made frame. Alternatively, you can purchase the equipment to cut your own mats, and even buy parts to assemble your own frames. Eventually you can save money by cutting your own mats, if you do enough of them, although I’ve found the mat material to be expensive unless bought in bulk. Finally, you can simply order what you need from a framer.

Frame
Finally, you need a frame. In general, the larger the painting, the wider the frame molding can be, but it’s all a matter of taste. Do, however, consider how the end result will look when you’re selecting molding. You don’t want to either overwhelm or underwhelm the artwork.

WatercolorFrameAssembly
Now that you have everything you need to frame your painting, you can now start assembling. Here’s how.
1. Wipe glass and make sure not to leave finger prints before placing in the frame.
2. Prepare you pre-cut mat and you can stack them inside the frame since they are thin. You can triple or double the matting with different colors if you want.
3. Surface could be plain paper, linen, silk, even leather, rice paper, can be textured and patterned.
4. Most mats are only available with a white core (the tiny part that shows when a bevel opening is cut). But a handful of mats do come with black core, green, red and yellow.
5. A common form of decoration on non cloth mats is the “French Line” or “French Panel”. These are lines drawn in ink or paint forming a rectangle around the opening. Could have several lines.
6. It is best to buy Acid Free mats. An acidic mat will fade and leak into the art work, causing “mat burn”, light brown marks.
7. So you have the matt, now attach picture with non acid tape to the mat. Place on glass.
8. Put the foam board, hold in place with framing points (look like small metal arrows).
9. Turn over, look at art work before inserting point in frame and across top of the foam board.
10. Lay the paper back attached to back of frame covering top to bottom, side to side (called dust cover).
11. Drive in fastners into back of frame, about 1/3rd down from top. String wire between fastners.

Image source: www.mimenta.com